 |
|||
|
|
|||
|
Page Title:
Inspection and Repair - continued |
|
||
| ||||||||||
|
|
 TM 9-2320-209-34-2-1
NOTE
Readings must be within limits given in table 10-4. If
readings are not within given limits, throw away part
and get a new one.
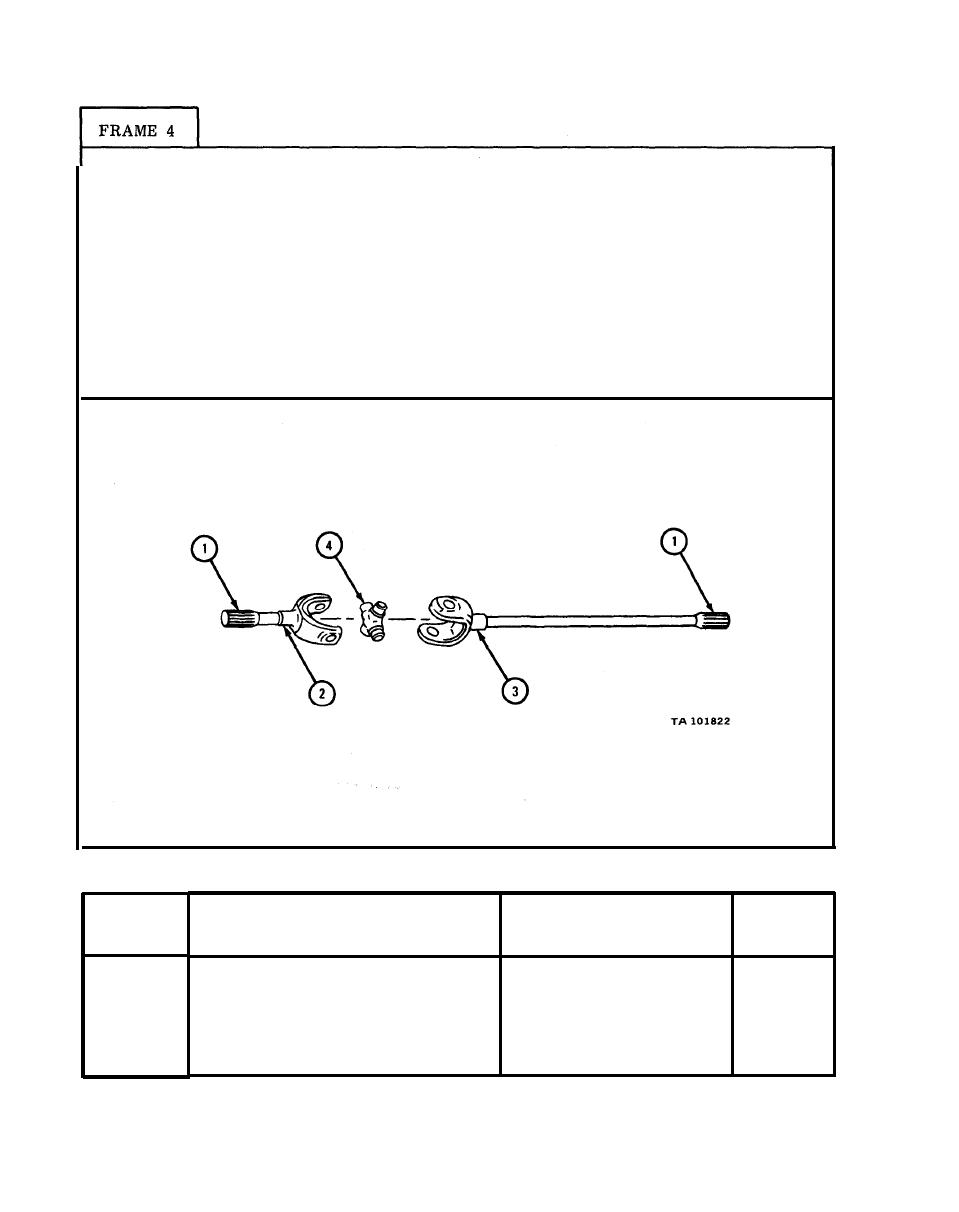
1. Measure tooth width of shaft splines (1).
2. Measure diameter of outer shaft journal (2).
3. Measure diameter of inner shaft journal (3).
4. Measure outside diameter for bearing surface on universal joint (4).
END OF TASK
Size and Fit
Wear
Index
of New Parts
Limits
Number
Item/Point of Measurement
(inches)
(inches)
1
Shaft spline tooth width
0.1704 to 0.1750
0.1699
2
Outer shaft journal diameter
1.668 to 1.670
1.666
3
Inner shaft journal diameter
1.668 to 1.670
1.666
4
Universal joint bearing surface
None
1.1614 to 1.1618
|
|
Privacy Statement - Press Release - Copyright Information. - Contact Us |