 |
|||
|
|
|||
|
|
|||
| ||||||||||
|
|
 TM 9-2320-209-34-2-3
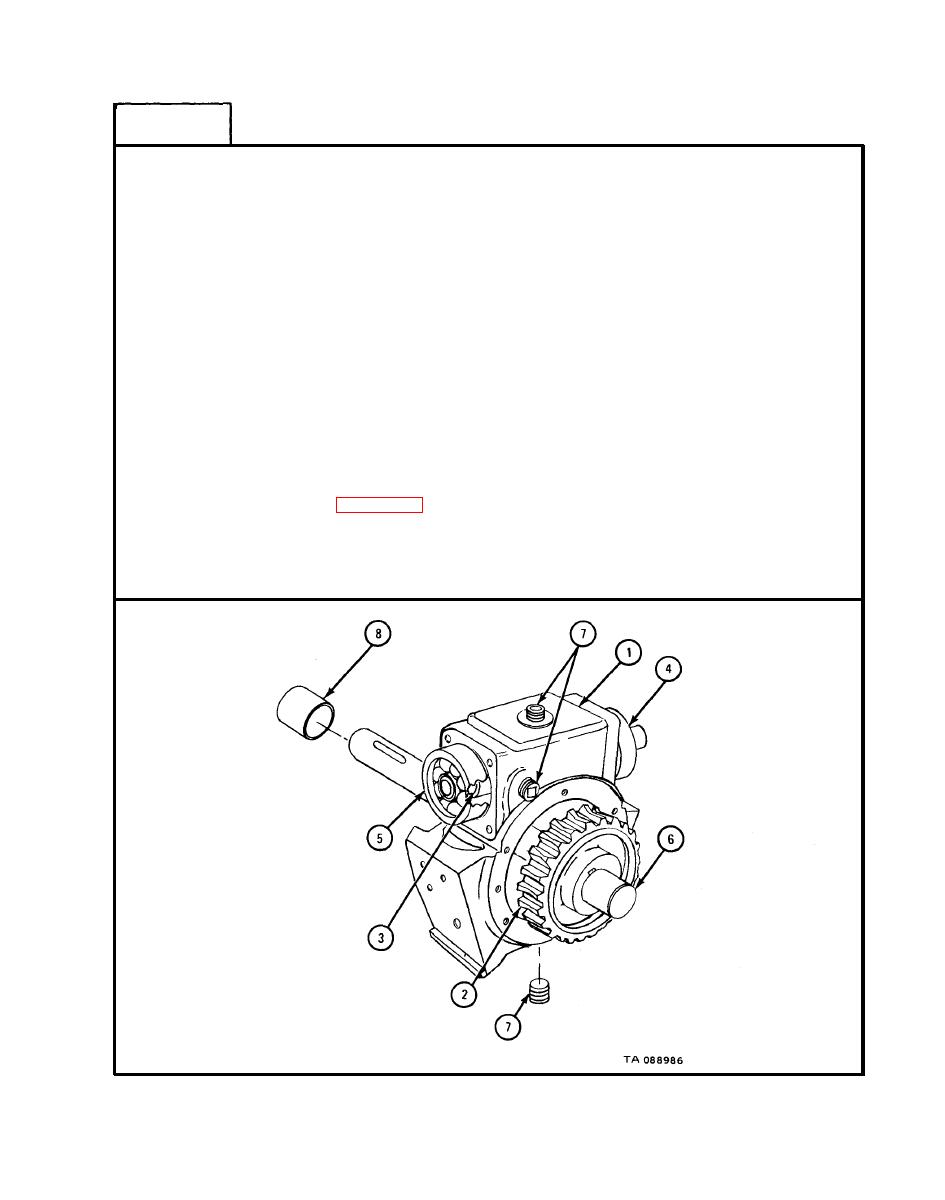
FRAME
8
1.
Mount dial indicator on gearcase (1) and check that backlash of
drum shaft gear (2) is not more than 0.0625 inch.
2.
Using rawhide mallet, tap gear end of drive worm (3) until front
ball bearing (4) is free of gearcase (1) and take bearing off drive
worm.
Soldier A
3.
Lift drive worm (3) and rear ball bearing (5) until they are clear
of drum shaft gear (2).
4.
Take out drum shaft assembly (6).
Soldier B
Take out drive worm (3) with rear ball bearing (5) and using
5.
Soldier A
puller, take bearing off drive worm.
6.
If backlash of drum shaft gear (2) was more than 0.625 inch, get
a new gear.
7.
Take out three pipe plugs (7).
8.
Check that gearcase bushing type bearing (8) is not cracked,
scored or damaged. Check that bearing is within wear limits.
Refer to table 18-1.
9.
If bearing (8) is damaged or worn, take out bearing and throw it
away.
GO TO FRAME 9
18-9
|
|
Privacy Statement - Press Release - Copyright Information. - Contact Us |
