 |
|||
|
|
|||
|
Page Title:
THREADED INSERT REPLACEMENT - continued |
|
||
| ||||||||||
|
|
 TM 10-5411-233-13&P
CARGO BED COVER (CBC), TYPE III, 2 1/2 T CARGO TRUCK, LMTV, AND LMTV TRAILER 0026 00
UNIT MAINTENANCE
WARNING
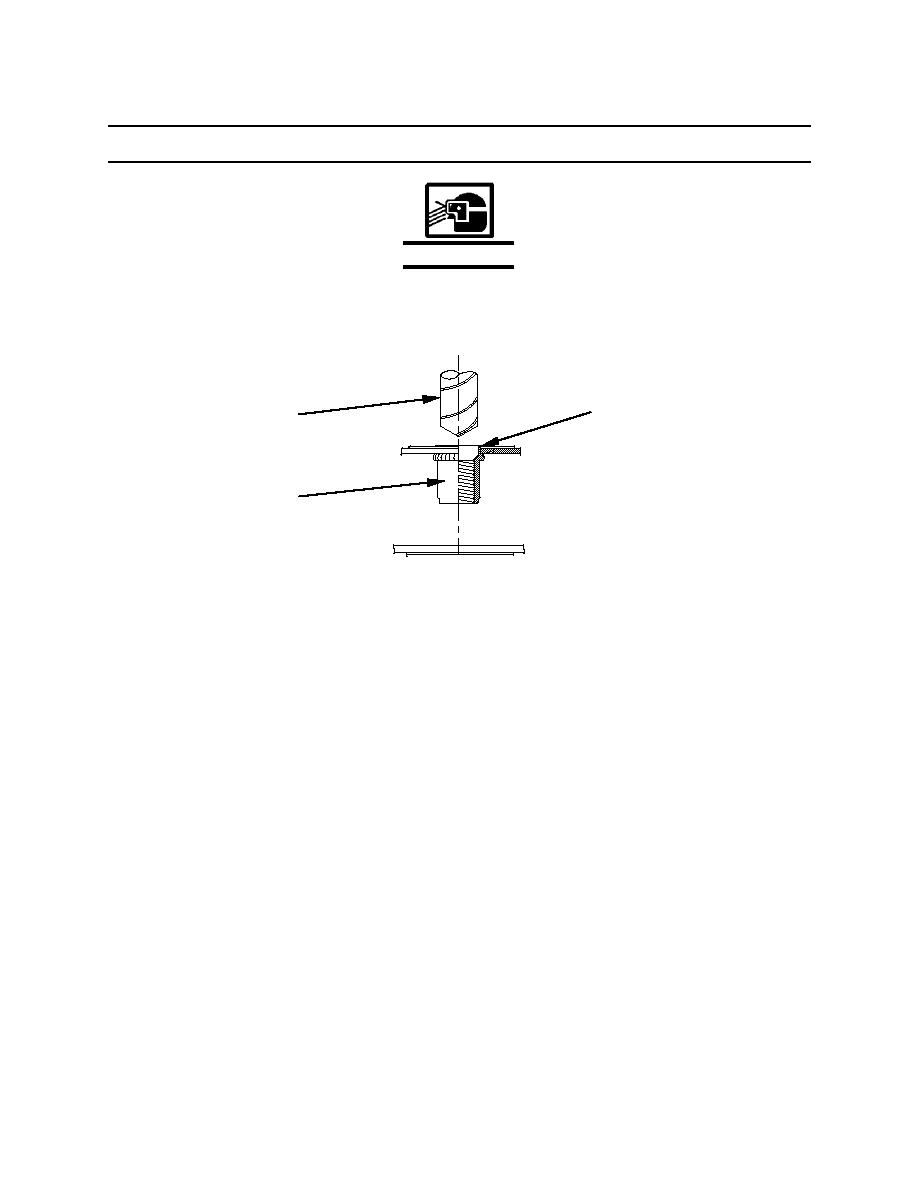
Wear safety goggles for eye protection against flying chips.
Using selected drill bit (1), drill head flange (2) from insert (3). Knock out remaining portion of insert.
2
1
3
Installing Threaded Inserts in Non-potted Areas (Edge Members, etc.)
CAUTION
Always apply anti-sieze lubricant to bolt and screw threads before
installation to prevent galling.
During the installation of threaded inserts, the threads inside the
threaded insert can sometimes be damaged by the installation tool, and
may result in the the bolts and screws binding. If this occurs, run a 5/16-
18 UNF tap (included with the adapter kit) into the threaded area. This
will clear and straighten the threads, making for easier and faster
assembly. Care should be taken using this method since the tap has the
ability to remove and/or cross thread existing threads. Be sure to work
slowly and deliberately when clearing the threads.
Install the threaded insert using the appropriate hand operated threaded insert installation tool (1), hex
(allen) wrench (2) (included with installation tool), and 3/4 inch (or 1-1/16 inch depending on header tool
used) wrench (3) (adjustable, fixed, or box end ratchet type).
0026 00-2
|
|
Privacy Statement - Press Release - Copyright Information. - Contact Us |
