 |
|||
|
|
|||
|
|
|||
| ||||||||||
|
|
 TM 9-6115-661-13&P
1.
Release clamping catch (5) and open load terminal door (1).
2.
Cut off 5 3/4 inches of bulk wire.
Make sure nut (13) is installed on terminal body (14).
3.
4.
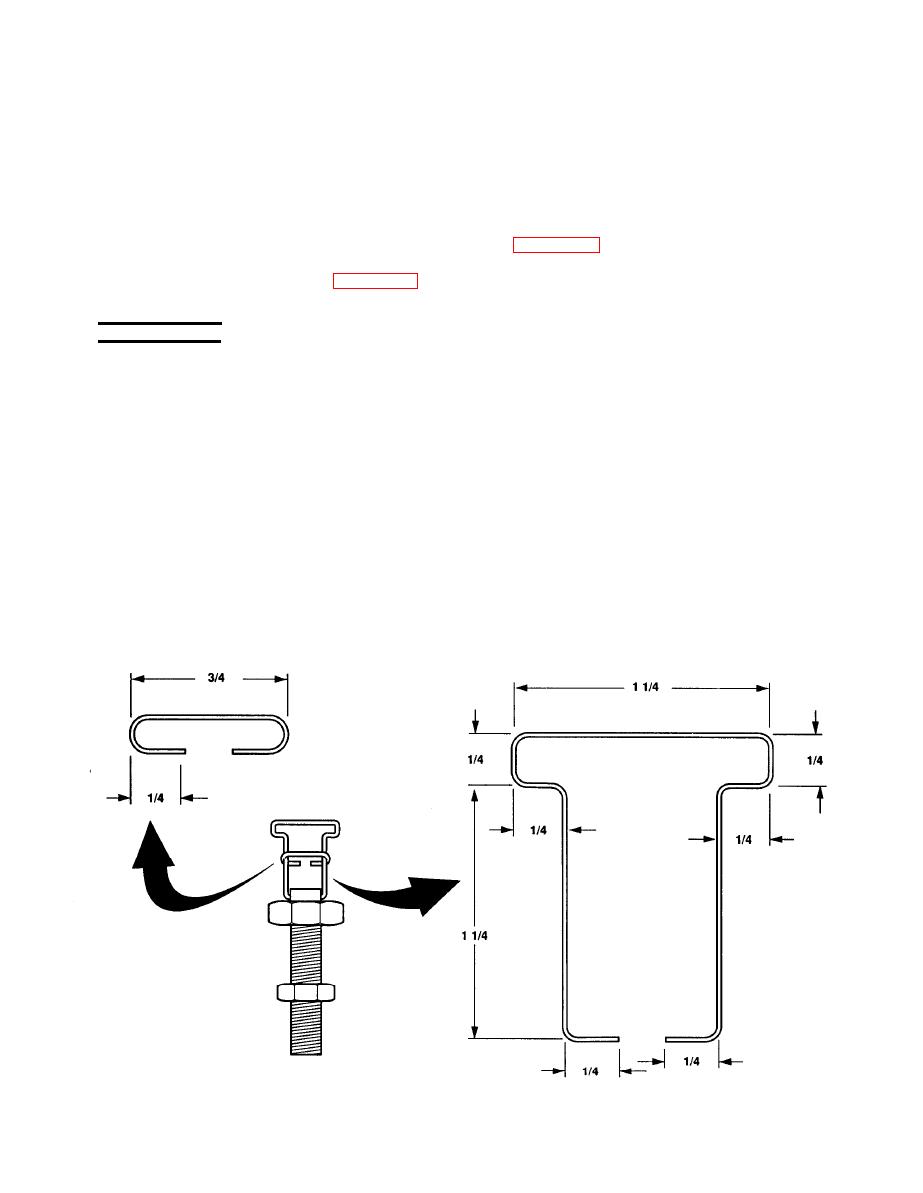
Fabricate and install terminal clip in accordance with figure 4-16.
5.
Close load terminal door (1, figure 4-15) and secure with clamping catch (5).
INSTALLATION
1.
Position new load terminal (14) on mounting plate so that alignment pin fits in hole provided.
2.
Install and tighten nut (11).
3.
Install leads (10).
4.
Install internal tooth lock washer (9) and nut (8) on load terminal (14).
5.
Close the load terminal door (1) and secure with clamping catch (5).
Connect P3 (6) to J4 (7).
6.
7.
Position the switch box cover (15) over switch box assembly and align the mounting holes.
Install twenty-one lock washers (3), flat washers (4), and screws (2).
8.
4-31
|
|
Privacy Statement - Press Release - Copyright Information. - Contact Us |
