 |
|||
|
|
|||
|
Page Title:
STEERING ASSIST CYLINDER MAINTENANCE - continued |
|
||
| ||||||||||
|
|
 TM 9-2320-361-24-2
0408 00
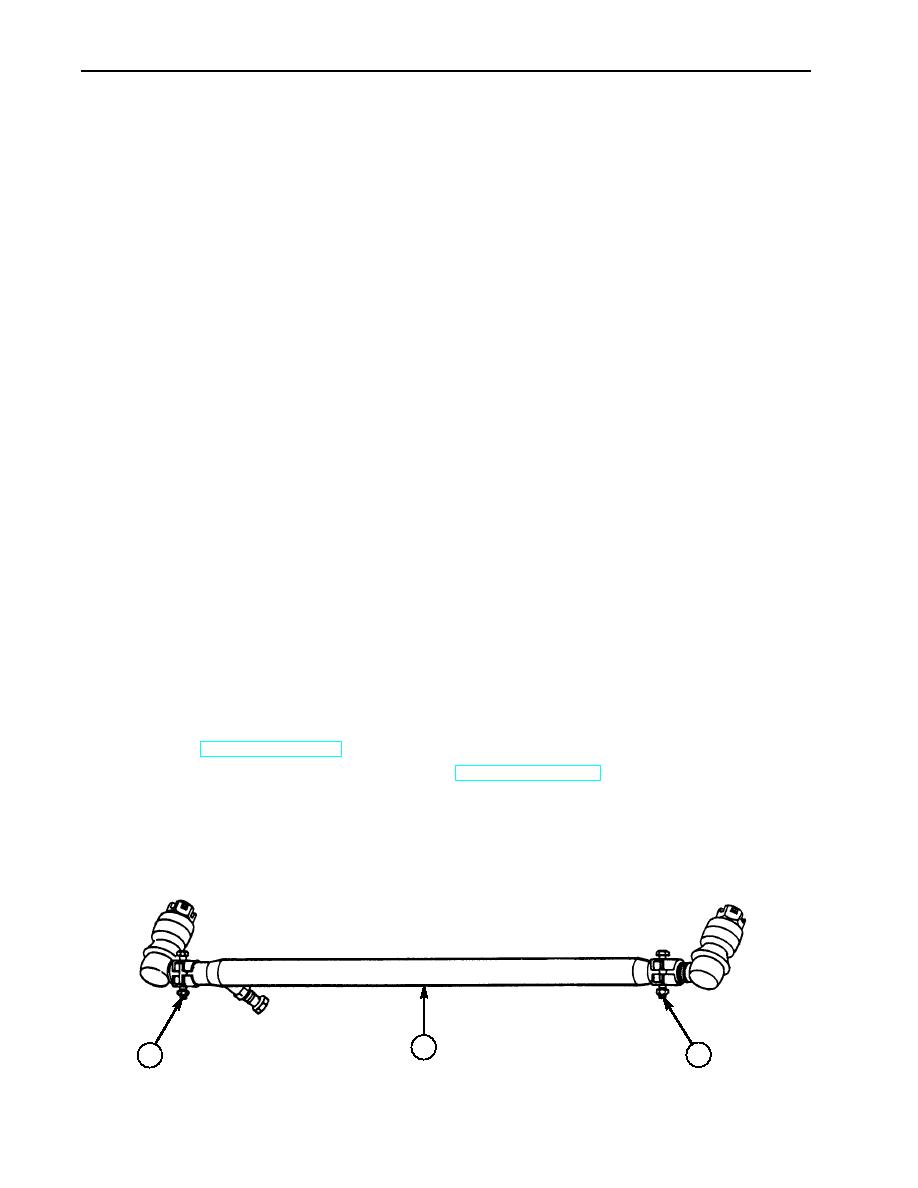
STEERING ASSIST CYLINDER MAINTENANCE (Contd)
ADJUSTMENT
NOTE
Perform steps 1 and 2 if steering assist cylinder was
not removed.
When power is applied to the steering assist cylinder on a tie
rod installation, the tie rod may have a tendency to crank.
To limit this condition, perform steps 1 through 10.
1.
Remove six jamnuts (6) from screws (4).
2.
Loosen six nuts (9) on screws (4).
3.
Turn wheels in full right hand turn.
4.
Loosen one of the tie rod ends (1), and turn the socket shell (2) in opposite directions.
5.
Tighten tie rod ends (1) and turn socket shells (2) in opposite directions.
6.
Turn wheels in full left hand turn to ensure tie rod (3) does not bind.
7.
Position steering assist cylinder rod (8) approximately 1/2 in. (13 mm) from being fully retracted.
8.
Position wheels in a full left hand turn.
9.
Tighten center screws (4) and nuts (9) at top and bottom center of tie rod bracket assembly (5).
NOTE
Power assist cylinder must be parallel to the tie rod for
proper operation.
10.
Turn wheels in full right and left hand turns, checking maximum and minimum strokes of
steering assist cylinder (7). Adjust, as required, position of the rod bracket assembly (5)
so steering assist cylinder (7) operates as close to minimum dimension as possible, and
is parallel to tie rod (3) when wheels are in straight ahead position.
11.
Tighten six nuts (9) 3035 lb-ft (4147 Nm) at tie rod bracket assembly (5).
12.
Install six jamnuts (6) on screws (4) and tighten jamnuts (6) 1519 lb-ft (2026 Nm) against
nuts (9).
13.
Start engine (TM 9-2320-361-10) and allow air reservoir to fill. Check for leaks.
14.
Release parking brake and remove wheel chocks (TM 9-2320-361-10).
15.
Road test vehicle. Adjust, if necessary.
2
1
1
0408 00-6
|
|
Privacy Statement - Press Release - Copyright Information. - Contact Us |
