 |
|||
|
|
|||
|
Page Title:
FUEL PUMP (IN-TANK) MAINTENANCE - continued |
|
||
| ||||||||||
|
|
 TM 9-2320-361-24-1
0061 00
FUEL PUMP (IN-TANK) MAINTENANCE (Contd)
CLEANING AND INSPECTION
Clean and inspect all fuel pump assembly parts for cracks, holes, and stripped threads. Replace
damaged parts.
ASSEMBLY
1.
Install ground strap (21) on pump (24) and clamp assembly (27) with four new lockwashers (20),
two screws (19), and nuts (22).
2.
Install hose assembly (18) on pump (24) with clamp (23).
3.
Install new "O" ring (12) and fitting (11) on plate and bracket (31) with new lockwasher (16) and
nut (17).
NOTE
Male pipe threads must be wrapped with antiseize tape before
installation.
4.
Install hose assembly (18) on fitting (11).
5.
Install elbow (10) on plate and bracket (31).
NOTE
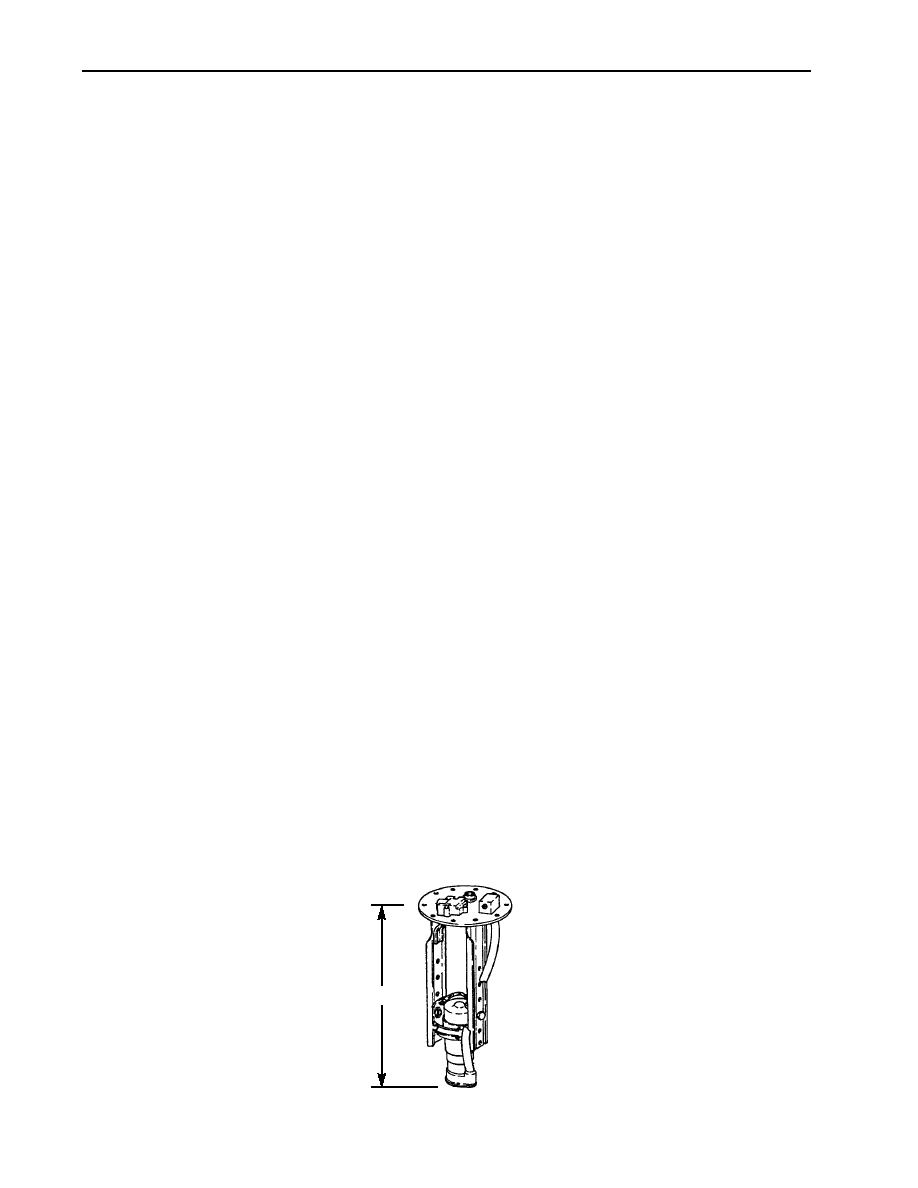
If new fuel pump is installed, measurement "A" must be 15.1 in.
(38.4 cm).
6.
Install pump (24) on clamp assembly (27) and position pump (24) up or down in plate and
bracket (31) to give correct measurement.
7.
Remove pump (24) from clamp assembly (27) and install clamp assembly (27) on plate and
bracket (31) with two screws (13), washers (15), and nuts (14).
8.
Install pump (24) on clamp assembly (27).
9.
Install clamp (30) on wire retainer (25) with screw (13), washer (15), and nut (14).
10.
Install new gasket (8) on plate and bracket (31) and position fuel pump wire (26) through center
hole in plate and bracket (31) and new gasket (8).
11.
Install recessed washer (28), new gasket (29), and wire retainer (25) on plate and bracket (31)
with new lockwasher (7) and nut (6).
12.
Install fuse (2) on terminal cover (3).
13.
Install fuel pump wire (26) on terminal cover (3) with screw (1).
14.
Install terminal cover (3) on plate and bracket (31) and gasket (8) with three new lockwashers (4)
and nuts (5).
15.
Install new lead seal (9) on stud (32) with an adequate crimping tool.
A
0061 00-6
|
|
Privacy Statement - Press Release - Copyright Information. - Contact Us |
