 |
|||
|
|
|||
|
|
|||
| ||||||||||
|
|
 TM 9-2320-209-34-2-3
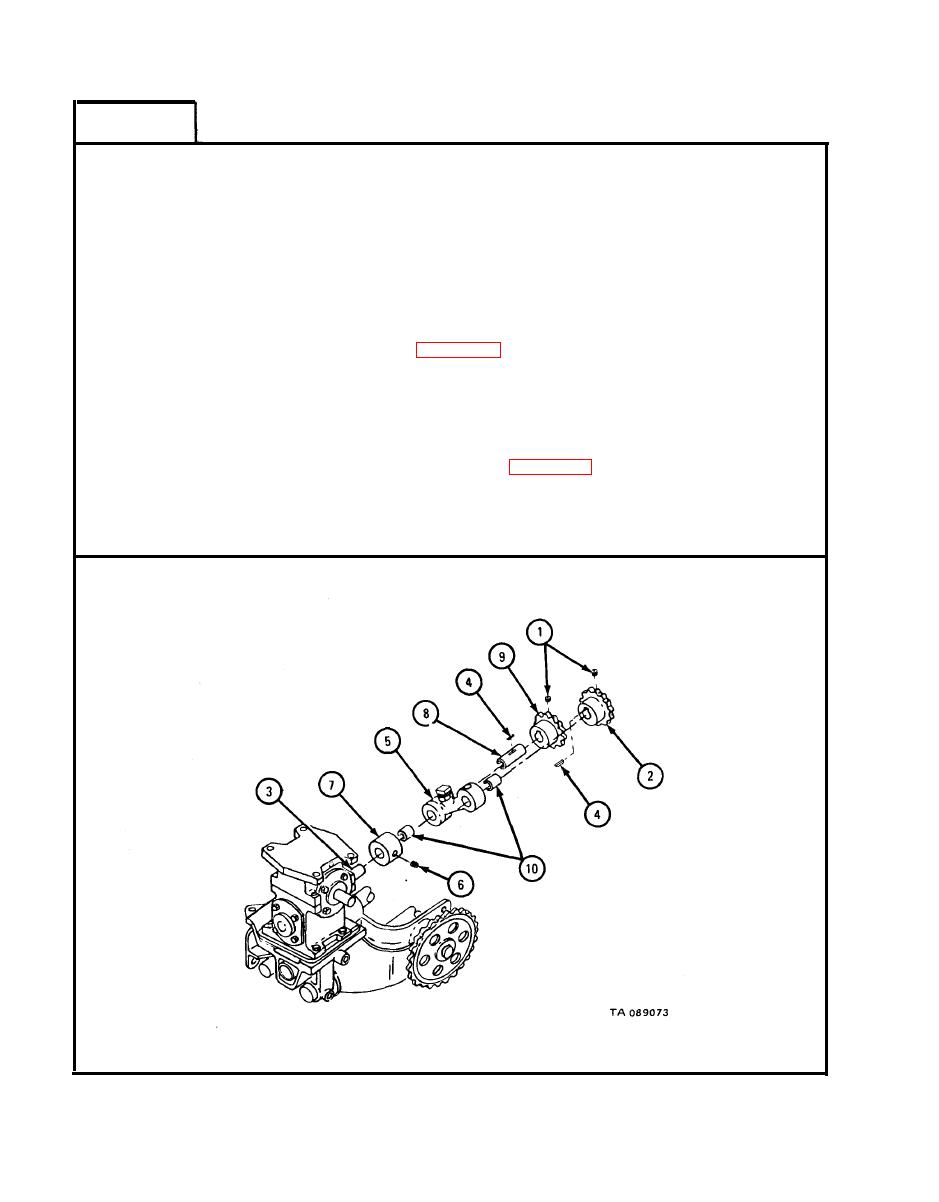
FRAME 4
1.
Loosen setscrew (1) on sprocket (2). Pull sprocket off shaft (3).
2.
Take out two keys (4).
3.
Slide bracket (5) off shaft (3).
4.
Loosen setscrew (6) on collar (7). Pull collar off shaft (8).
5.
Pull sprocket (9) with shaft (8) from bracket (5).
NOTE
If shaft (8) or sprocket (9) is damaged, pull apart shaft
from sprocket. Refer to para 18-5e for inspection
procedures.
6.
Take off setscrew (1) from sprocket (9) and press shaft (8) off sprocket.
NOTE
Do not take out two bushings (10) from bracket (5)
unless they are damaged. Refer to para 18-5e for
inspection procedures.
7.
Take out two bushings (10) from bracket (5).
GO TO FRAME 5
18-76
|
|
Privacy Statement - Press Release - Copyright Information. - Contact Us |
