 |
|||
|
|
|||
|
Page Title:
DIRECTIONAL SIGNAL AND SOLID STATE FLASHER REMOVAL, REPAIR, AND REPLACEMENT. - continued |
|
||
| ||||||||||
|
|
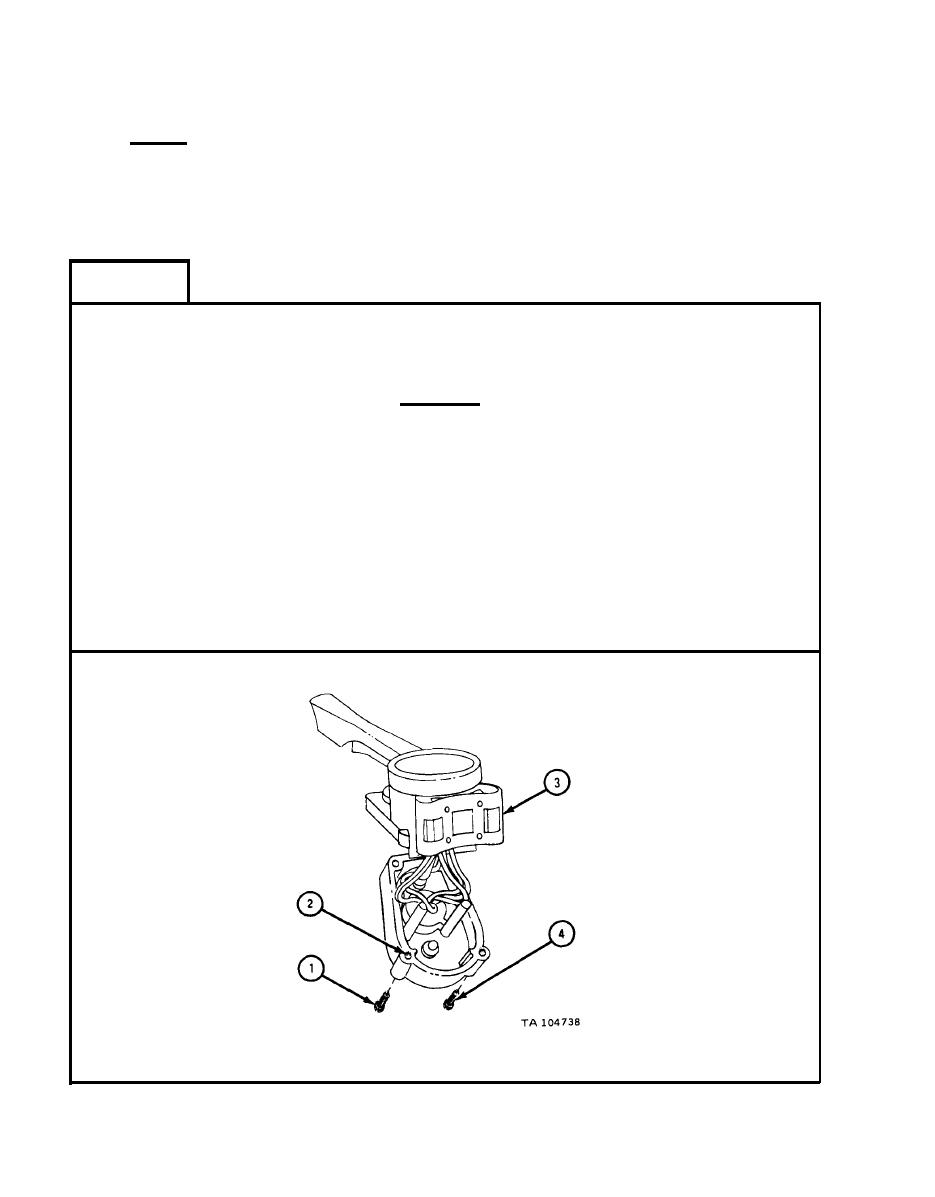 TM 9-2320-209-20-3-1
Repair.
c.
NOTE
If directional signal assembly is new or is working
go to frame 1. If assembly is not working, go to
frame 2.
FRAME 1
1.
Using screwdriver, unscrew and throw away two screws (1). Using drill and
No. 36 drill bit and using screw holes (2) as guides, drill holes through upper
body (3).
CAUTION
When using No. 28 drill bit, do not drill into upper body.
Assembly may become damaged.
Using drill and No. 28 drill bit, drill screw holes (2).
2.
NOTE
If tap is not available, use self-tapping screws.
3.
Using tap, tap holes in upper body (3).
4.
Using screwdriver, screw in and tighten two screws.
5.
Do steps 1 through 4 again for other screws (4).
END OF TASK
|
|
Privacy Statement - Press Release - Copyright Information. - Contact Us |
